Quick Start
To get started with Revolv3 as a payment provider:- Install the Revolv3 payment app in Shopify
- Log in to Revolv3 portal when prompted
- Add your store domain
- Activate the payment provider in Shopify
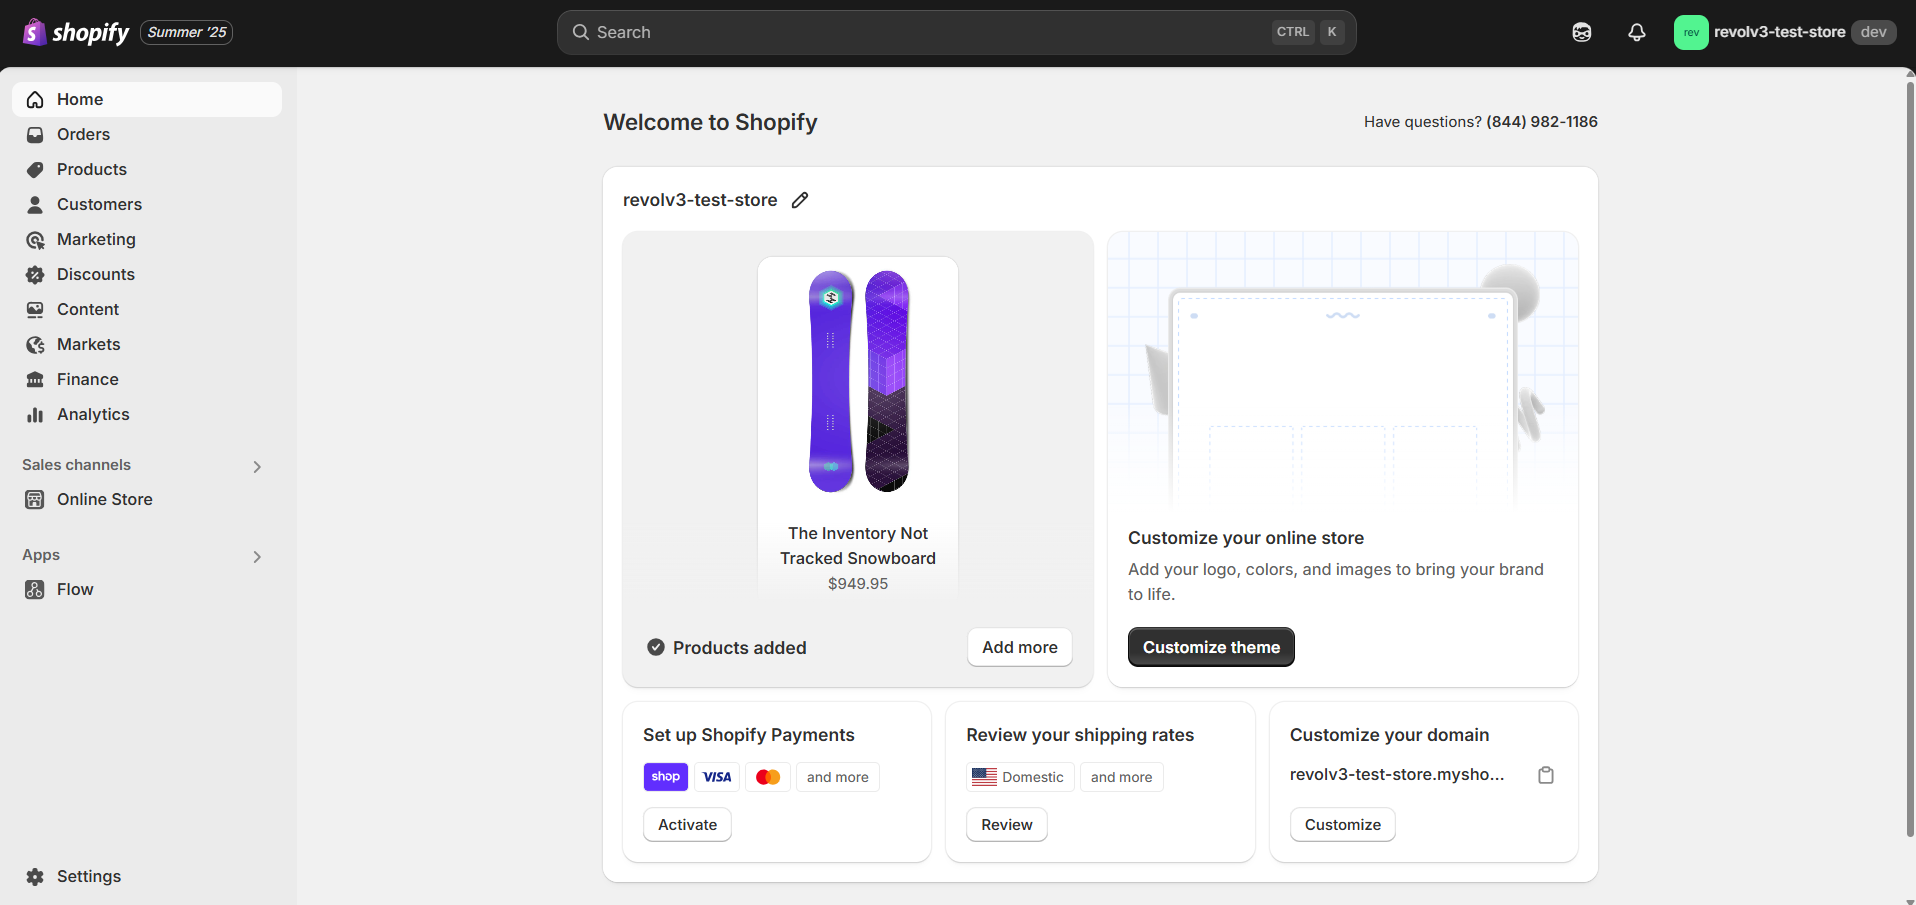
Step 1: Open Payment Settings
From Shopify Admin:- Log in to your Shopify Admin
- Go to Settings → Payments
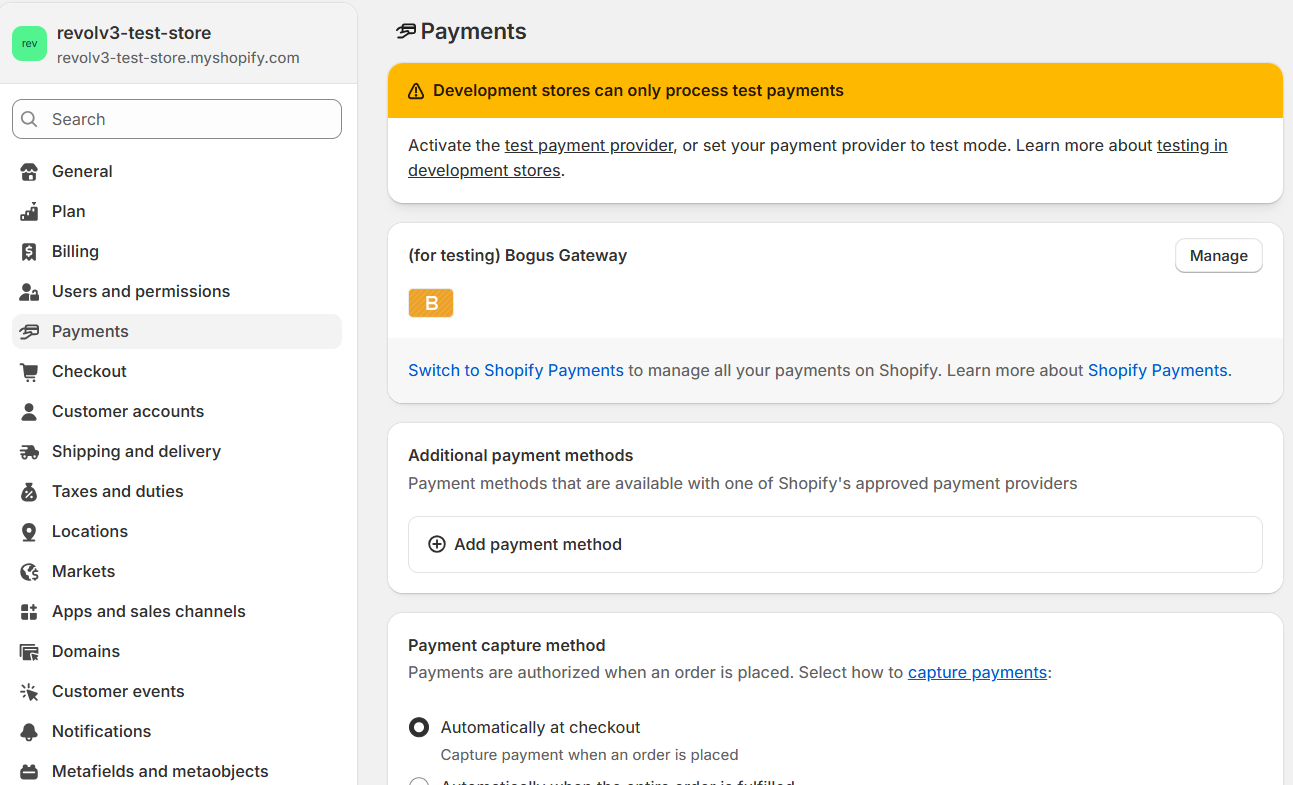
Step 2: Add Revolv3
- Click See all providers
- Search for Revolv3
- Select it as your payment provider
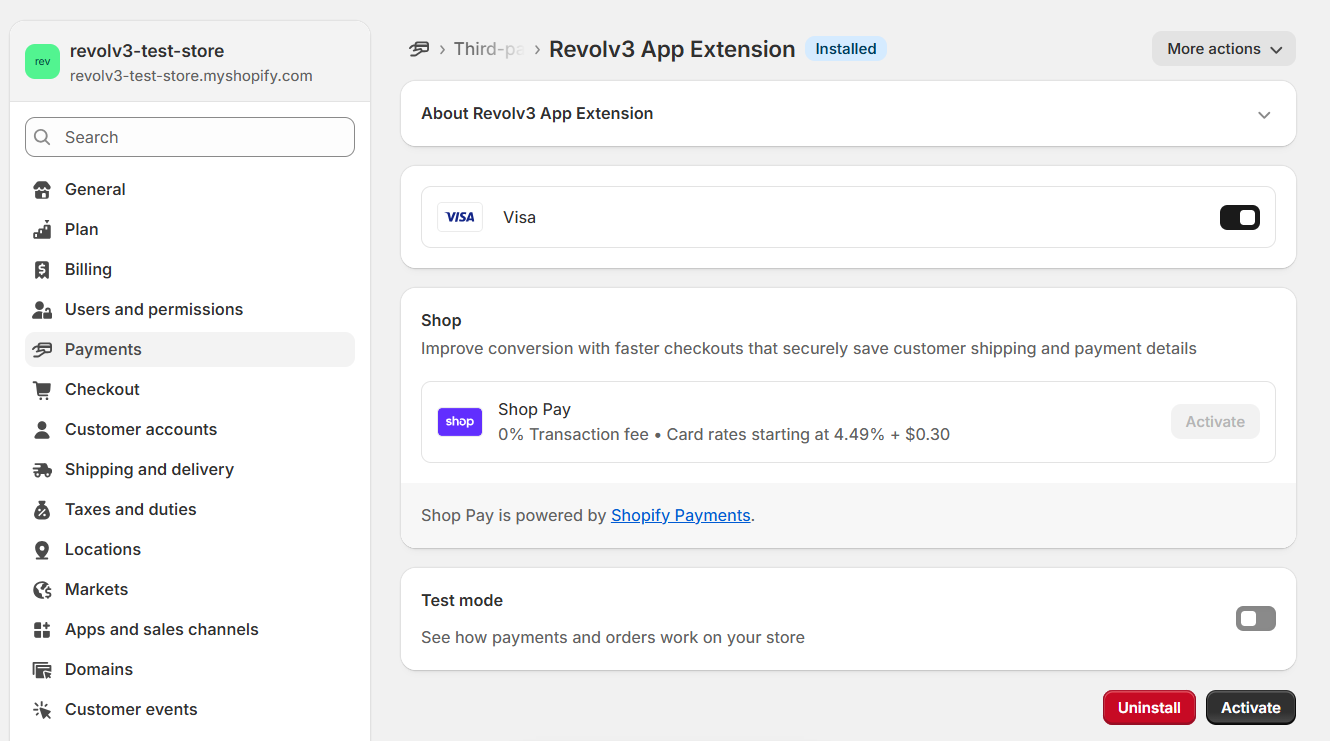
Step 3: Connect Your Account
- Grant required permissions. You must grant Revolv3 access to read and write payment sessions
- You will be redirected to Revolv3
- Log in to your Revolv3 account. You need to log in and specify your store’s domain in the merchant settings
- Add your store domain
Step 4: Activate Payments
- Return to Shopify
- Click Activate
Your store is ready to accept payments.
Configuration
No manual configuration is required from the merchant side.
- payment processing endpoints
- processor configuration
- security setup
Backend Responsibilities
The Revolv3 backend handles:- Processing payment session requests
- Processing refund session requests
- Mapping Shopify requests to Revolv3 API
- Handling processor communication
- Returning Shopify-compliant responses
Testing
Once you’ve activated Revolv3 in Shopify, test the integration in the following environments:- Shopify Partner Development Store
- Revolv3 Sandbox
- Shopify test card numbers
- Payment flow
- Refund flow
- Error handling
- Webhook processing
Limitations
Current implementation limitations:- Card payments only
- No 3DS support
- No auth/capture separation
- No void functionality
- No alternative payment methods
- No subscriptions
Troubleshooting
Common Issues
Payment not processed- Check endpoint availability
- Verify API credentials
- Validate request schema
- Ensure store domain is configured in Revolv3