What is Revolv3 Checkout?
Revolv3 Checkout lets you collect payments through a secure, pre-built payment form hosted by Revolv3. Instead of building your own payment form and handling sensitive card data, you redirect customers to Revolv3’s secure checkout page or embed it in your site. Why use checkout instead of building your own form:- Less development work: Revolv3 handles the payment form UI
- Better security: You never handle card data—Revolv3 does
- PCI compliance: Revolv3 handles PCI compliance requirements
- Optimized UX: Payment forms are optimized for conversion
- Multiple payment methods: Support for cards, ACH, and digital wallets
- You want a quick integration without building payment forms
- You prefer not to handle sensitive payment data
- You want a pre-built, optimized checkout experience
- You need to support multiple payment methods easily
Two Integration Options
Revolv3 offers two ways to use checkout:1. Hosted Checkout Page
What it is: Customers are redirected to a Revolv3-hosted payment page on a separate URL. How it works:- You create a checkout session via API
- Revolv3 returns a checkout URL
- You redirect the customer to that URL
- Customer completes payment on Revolv3’s page
- Customer is redirected back to your site
- Quick integration
- When you want Revolv3 to handle the entire checkout experience
- Mobile-friendly redirects
2. Embedded Checkout
What it is: Checkout is embedded directly in your website using an iframe. How it works:- You create a checkout session via API
- Revolv3 returns a checkout URL
- You embed that URL in an iframe on your page
- Customer completes payment without leaving your site
- Your page receives a message when payment completes
- Keeping customers on your site
- Seamless checkout experience
- When you want more control over the page layout
Feature Overview
Revolv3’s Checkout integration provides: ✔ Clear order details — Customers see exactly what they’re paying for before completing payment ✔ Multiple payment methods — Support for credit cards, debit cards, ACH, and digital wallets ✔ Optimized UI/UX — Payment forms are designed for all devices and optimized for conversion ✔ Secure by default — Revolv3 handles all security and PCI compliance ✔ Two integration options — Choose hosted page or embedded based on your needsPrerequisites
Before integrating checkout, ensure you have:- ✅ Active Revolv3 account — You need a merchant account set up
- ✅ Configured payment processor — At least one processor (WorldPay, Adyen, etc.) must be configured
- ✅ Developer API key — Your static token for API authentication
- ✅ Trusted hostnames configured — Your website domain must be registered in Revolv3 portal
Configuring Trusted Hostnames
To use Revolv3’s Checkout feature, you must register your website’s hostname in the Revolv3 portal. This ensures only authorized websites can create checkout sessions.Steps to Configure Trusted Hostnames
-
Log in to the Revolv3 Portal:
- Production: portal.revolv3.com
- Sandbox: portal-sandbox.revolv3.com
-
Navigate to settings:
- Go to Merchant Settings → Integration Profile
-
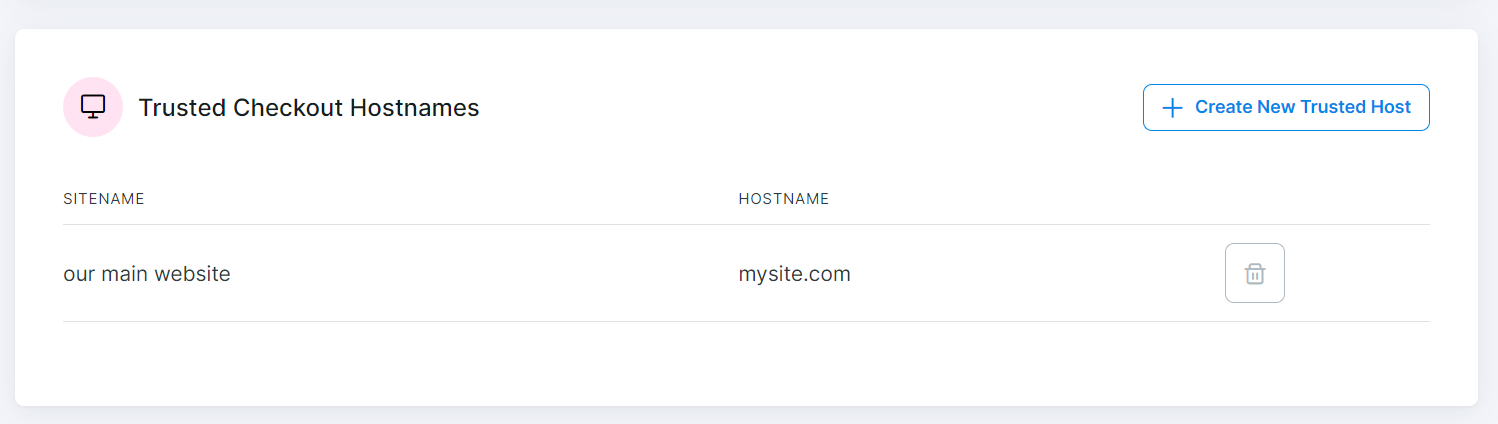
Find Trusted Checkout Hostnames section:
- Scroll down to the Trusted Checkout Hostnames section
-
Add your hostname:
- Add the hostname (domain) from which checkout requests will be made
- Ensure it matches your website’s domain exactly
Example
If your website URL is:- The hostname must match the domain making the API request
- Include the hostname in the Trusted Checkout Hostnames list
- You can add multiple hostnames if you have multiple domains
Choosing Your Integration Method
After configuring trusted hostnames, choose which integration method works best for you:Option 1: Hosted Checkout Page
Best for: Quick integration, redirect-based flow How it works: Customer is redirected to a Revolv3-hosted payment page Learn more: Hosted Page GuideOption 2: Embedded Checkout
Best for: Keeping customers on your site, seamless experience How it works: Checkout is embedded in your website using an iframe Learn more: Embedded Checkout GuideNext Steps
- Hosted Page — Learn how to redirect customers to Revolv3’s payment page
- Embedded Checkout — Learn how to embed checkout in your website
- Checkout Line Items — Understand how to structure checkout items and pricing